Binance API keys
This short tutorial shows where and how to create API keys in Binance. Please follow this step-by-step tutorial to create new API keys.
Hint: See an article How to add exchange to CoinScorer for a detailed description of how to add these API keys to the application.
1) Log-in to Binance account
As first, log-in to your Binance account.

2) Configure two-factor authentication
To be able to use API keys, you need to have enabled two-factor authentication. You can activate it on your account page by pressing “Enable” button next to “Google Authentication”.

Note: We recommend you always to use two-factor authentication to protect your account.
3) Create API keys
To create API keys, press “Enable” button in “API” section on the account page.

In next screen enter some name for your API key.

Then confirm its creation in your email.

4) Configure API keys
Now you need to configure your key. Press “Edit” button and uncheck “Enable trading”.

In case you want to use your API key also for trading keep “Enable Trading” checked. But never give “Withdraw” permission to your API key. Also, it is a good practice to configure allowed IP addresses for your key, which means no one else can access your account via API key from other IP address except yours.

After you finish your settings press “Save”.
5) Copy your API keys
Your API key is ready. Each API key consists of public key (labeled as “API Key”) and private key (labeled as “Secret Key”).

Note: Secret key is displayed only once after creation. After you close this page you will never be able to see it again. In case you lost it you need to create a new API key.
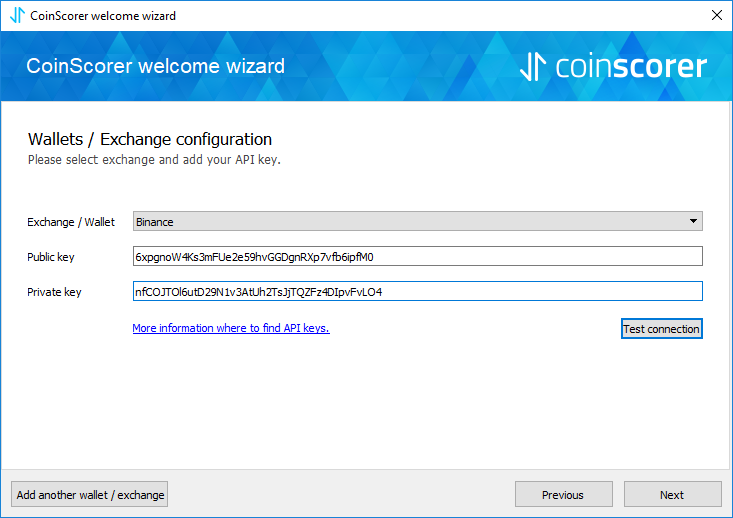
6a) Enter key to application wizard
Add both keys to CoinScorer Welcome wizard where you can add one or more wallets or exchanges.
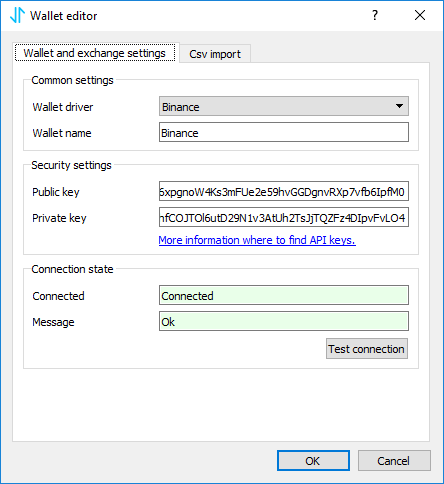
6b) Enter key to application
Alternatively, you can also add these keys directly through New Exchange/Wallet dialog. To do that, choose “Add wallet”, select “Binance” wallet driver and enter both keys to Public and Private key edit fields.